
Leaving the cargo tube[]
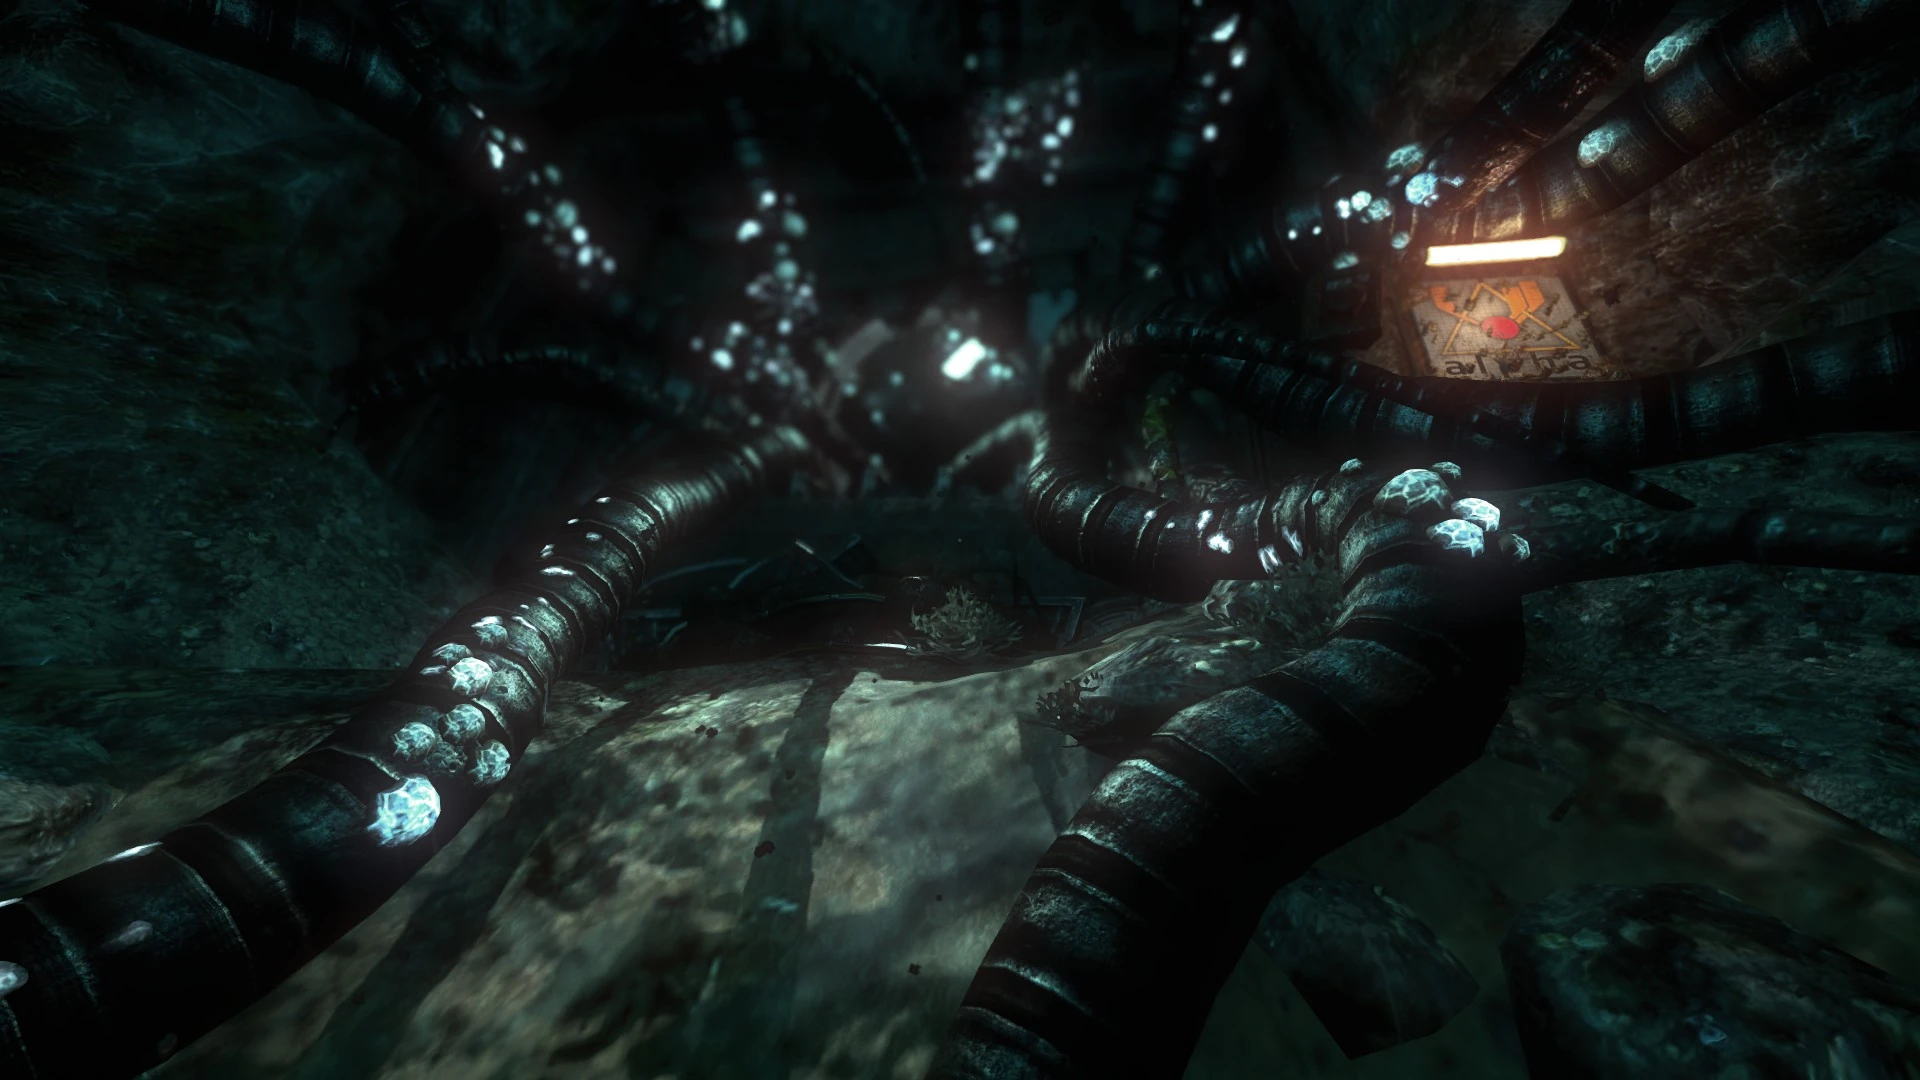
The entrance to Site Alpha
- Outside of the tunnel, follow the path ahead.
- Go left or right at the intersection. It doesn't matter.
- Where the two paths meet up, continue around the bend ahead to the right.
- Follow the path around until reaching to the entrance to site Alpha.
Into Site Alpha[]
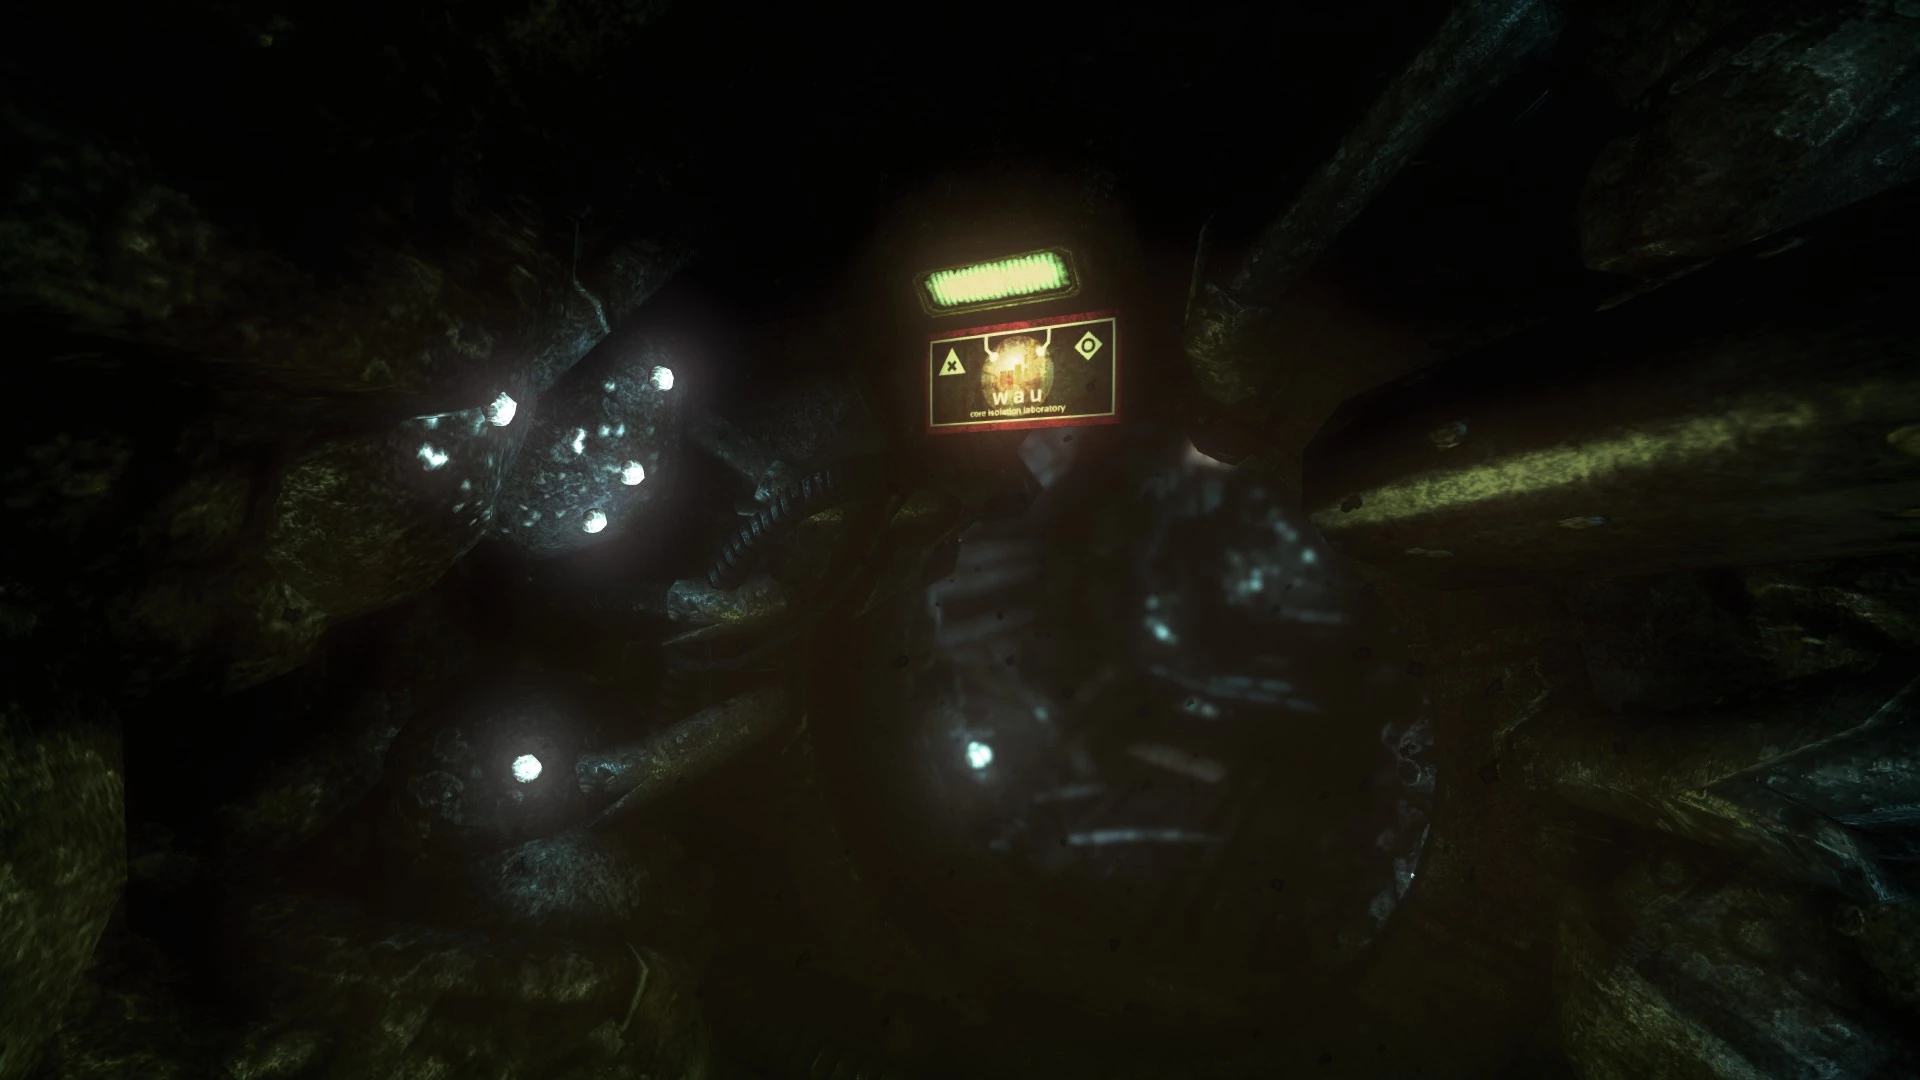
The entrance to the core isolation laboratory
- Go inside and continue forward to the two doors.
- There is nothing meaningful in the one to the right, so open the door ahead and go down the stairs.
- Open the door here and go in.
- Open the door on the other side and continue through.
- Again, open the door across to the left and go through.
- Head to the left and through the breach in the wall.
- Continue through this passage. There will be a conversation halfway through.
- After the conservation, go past the small dead-end path to the right to the next right.
- Keep going until reaching a sign reading "WAU core isolation laboratory".
Core isolation laboratory[]
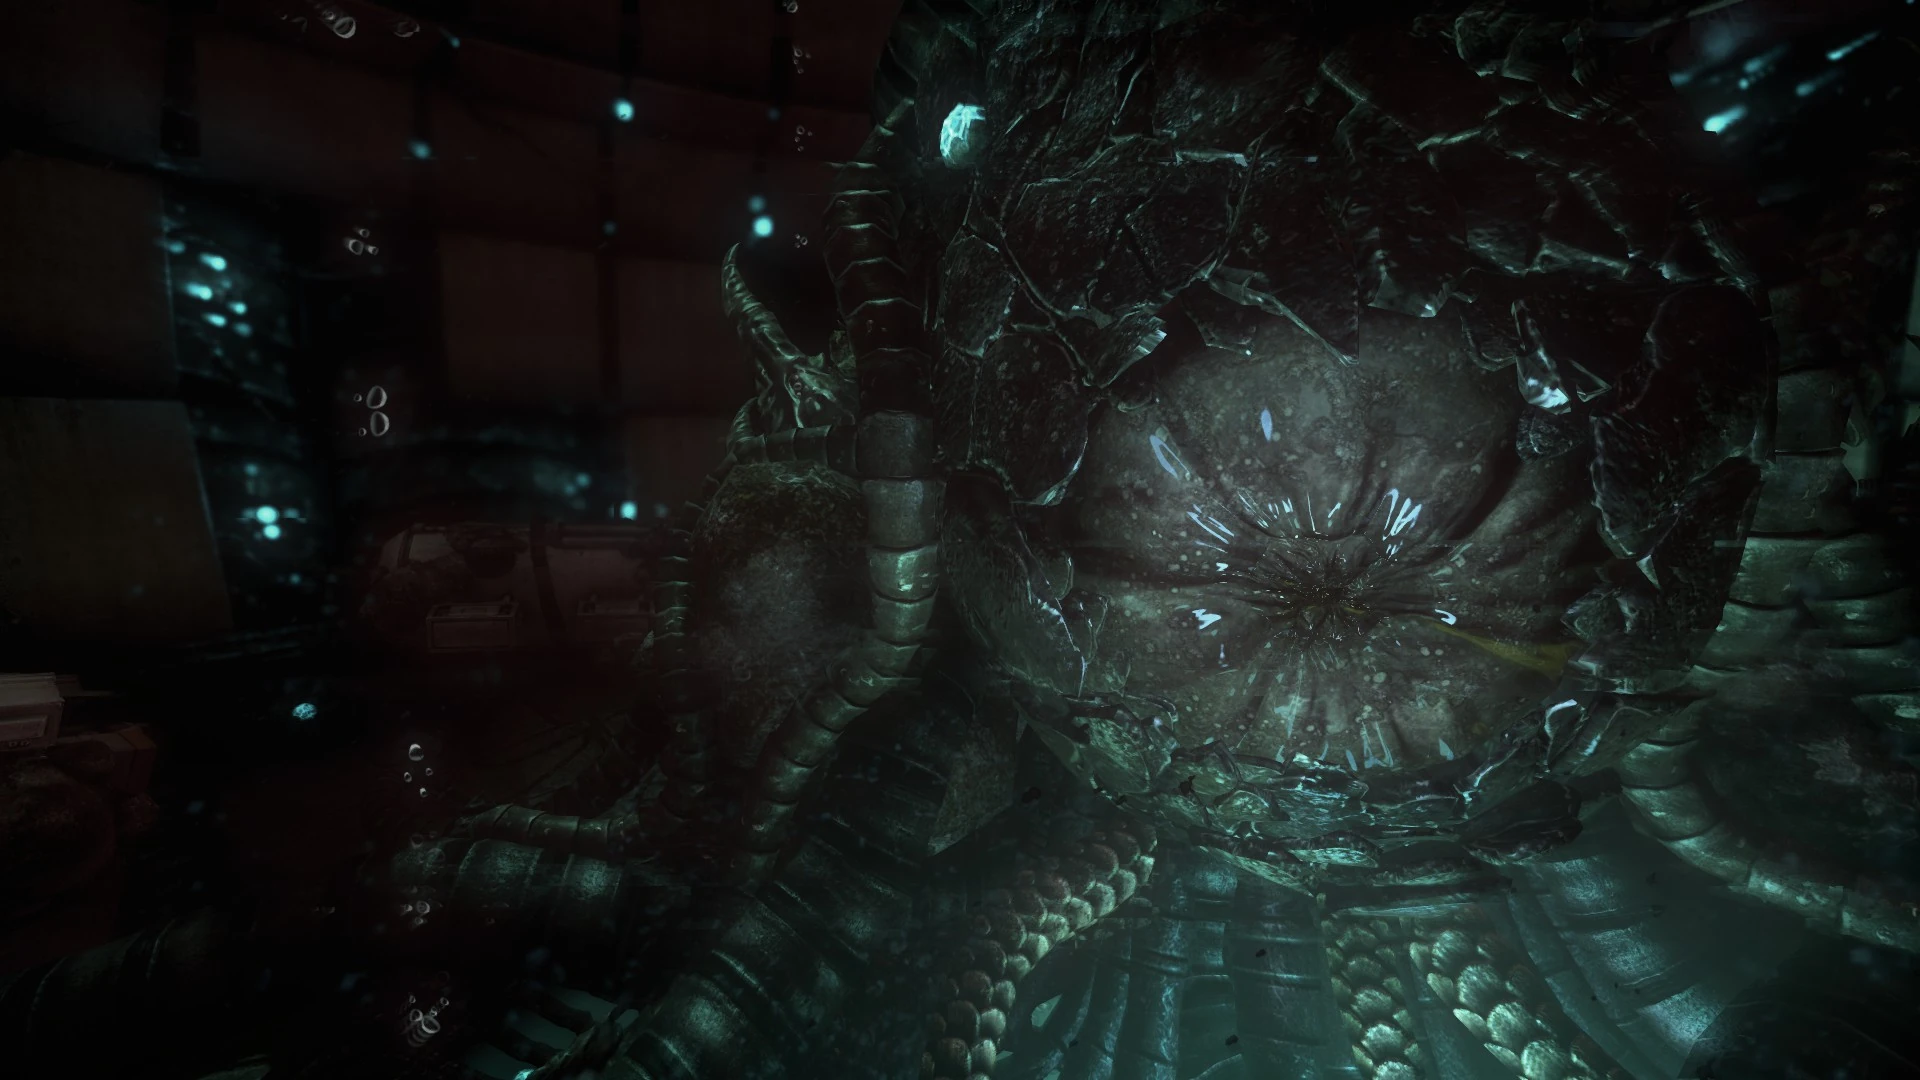
The heart of the WAU

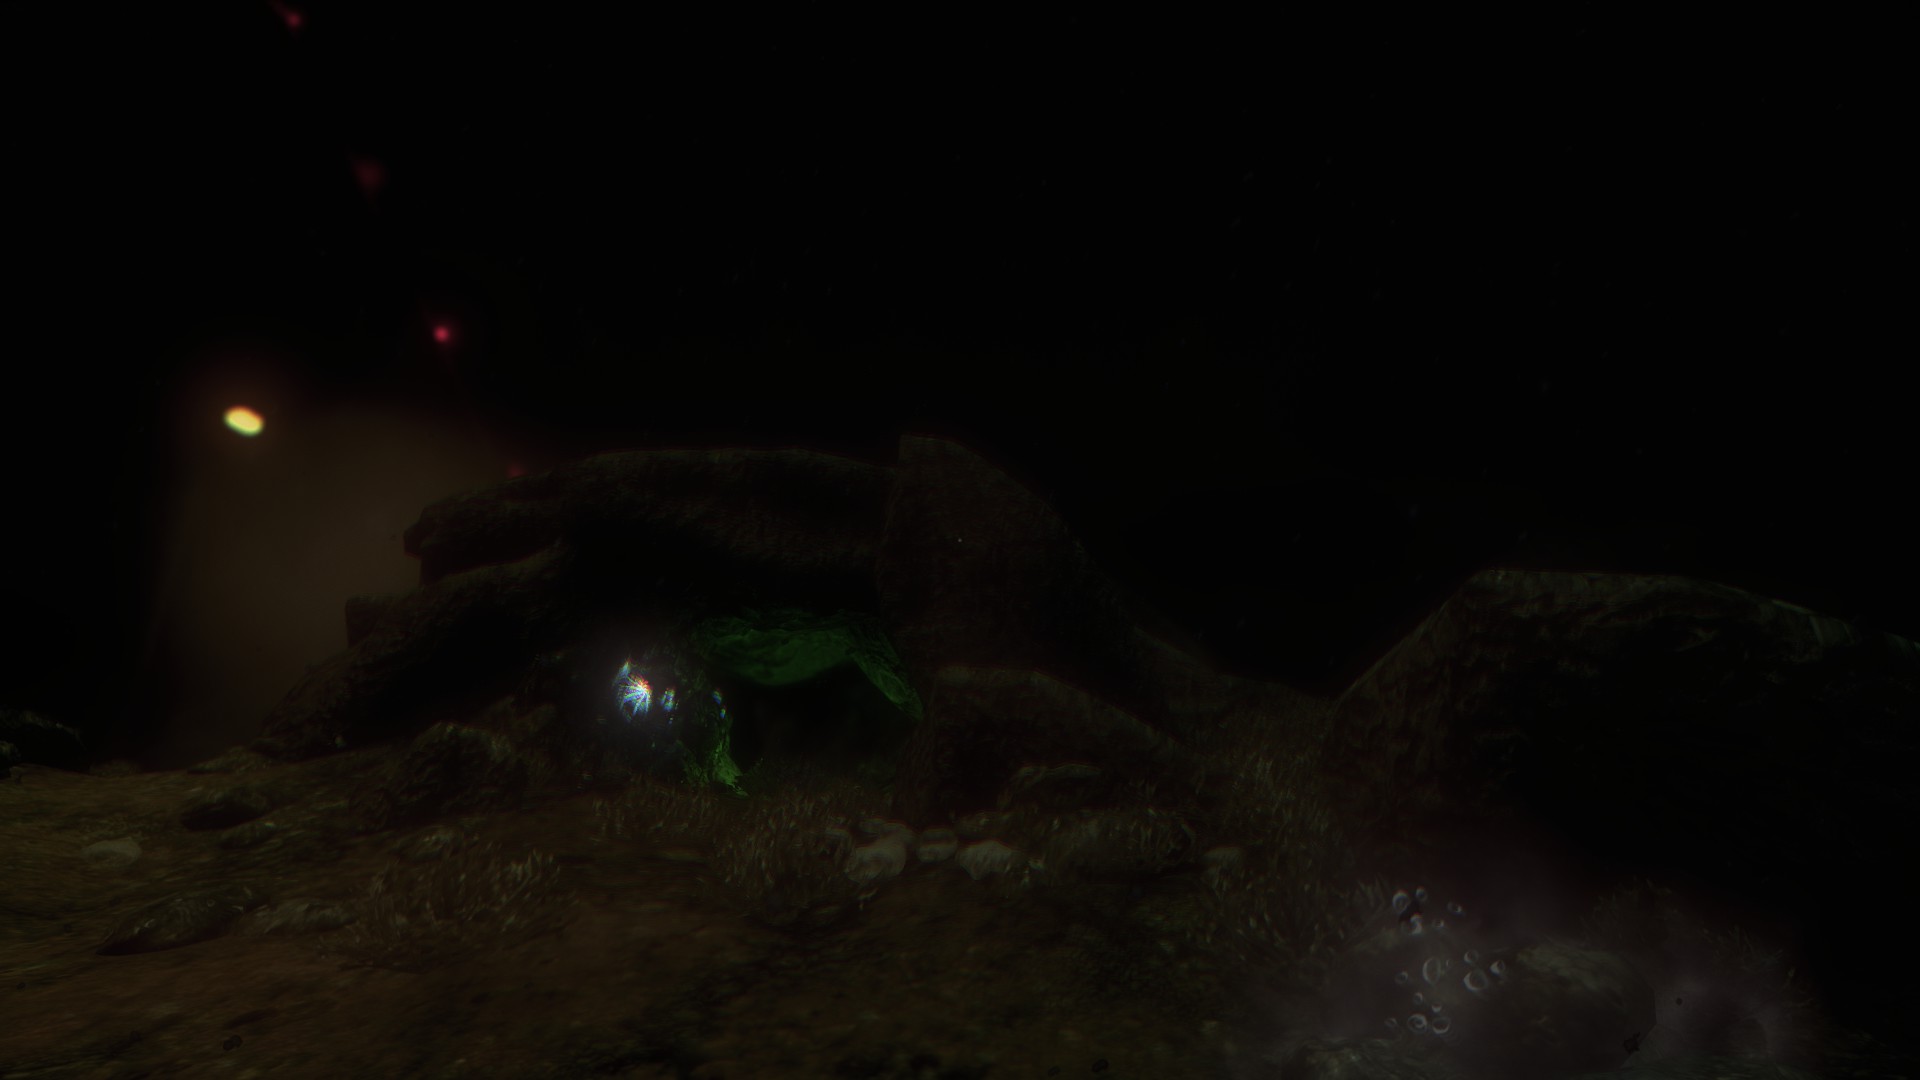
The first hiding place along the path to Phi
- Go through the corridor into the laboratory.
- There is a choice here:
- One option is to approach the heart and place Simon's arm inside it.
- The other option is to go around to the right and through the door behind the heart and continue down the passageway to the end.
- Either way, Simon will be rendered unconscious and will end up back in the room with the heart.
- This is another chance to put Simon's arm in the heart if not already done, but it is still optional.
Warning: Through the passageway ahead, Simon will be pursued by a very large monster. If it catches him in the passageway ahead, it will kill him. Outside, it will thrash SImon around, but he appears to be able to survive getting caught a number of times. Unfortunately, it's possible for Simon to get caught and be thrashed about endlessly, which amounts to the same thing as a kill. Sprinting to Phi is not enough to evade it as it is faster and will likely catch Simon somewhere along the route. Fortunately, it often swims in circular motions rather than pursuing Simon directly.
Evading this monster is a matter of sprinting to cover, waiting for an opportunity to move, and sprinting further down the path to some more cover, repeating this until reaching the door to Phi. It's important to crouch and to get as deep in the cover as possible. Generally speaking, the best time to move ahead is often when the monster is close and when it possible to sprint right under it, preferably when it's swimming to the left.
- Head through the door behind the heart into the passageway and continue on.
- After the shaking knocks SImon over, sprint the rest of the way out of the passageway and go right.
The path to Phi[]


Monster encountered in Site Alpha seen outside the entrance to Phi
- Keep sprinting until a small tunnel can be seen ahead. Run there, crouch, and hide inside.
- Optionally use the healing node.
- When the monster swims past and leaves the path ahead, sprint ahead to a rock formation on the left of the path that provides an alcove to hide in.
- There are five similar rock formations ahead that are along the right side of the path. Repeat the drill with each of these.
- At the fifth of the rock formations to the right of the path, the next one is just to the left of the door to Phi.
- The creature may just circle here, but it will only get so close to the door to Phi.
- The button to open it is just on the other side of the strut ahead. Simon should be safe under these struts, so push the button and wait for the door to open. Then head inside.
Control room[]

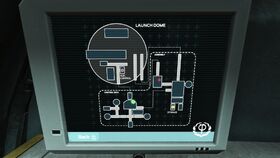
Map of the interior of Phi
- Advance ahead into the airlock.
- Swipe the omnitool where indicated and wait for the airlock to cycle.
- Continue ahead into the control room.
- Place the omnitool in the receptacle on the console to the left.
- After the conversation, turn around and
- Optionally, check out the computer across the room to the right.
- Go through the door to the loading dock.
- Climb down the ladder.
Loading dock[]


Power pack in the Phi loading dock
- In the next room, head to the room across and to the left.
- Take the power pack from the wall unit reading "S3 CONNECTION".
- Exit this room, turn left, and go into the room ahead.
- Optionally use the healing node ahead, then head to the other hatch in the room to the right.
- Plug the power pack in underneath the flashing yellow light right of this hatch.
- Push the button to open the hatch.
- To save time, retrieve the power pack.
- Go inside and retrieve the ARK.
- Carry it back to the room with the generators.
- Head to the closed door across the room to the right and open it.
- Proceed through the corridor into the next room.
- Optionally listen to the message from the body to the right.
- Go up the small staircase and place the ARK into the large bullet here.
- Turn around. Place the power pack beneath the flashing light past the body.
- Back up the stairs, push the button at the console.
- Head back through the corridor out of the room, turn right, and take the first right.
- Climb back up to the control room.
To the launch dome[]

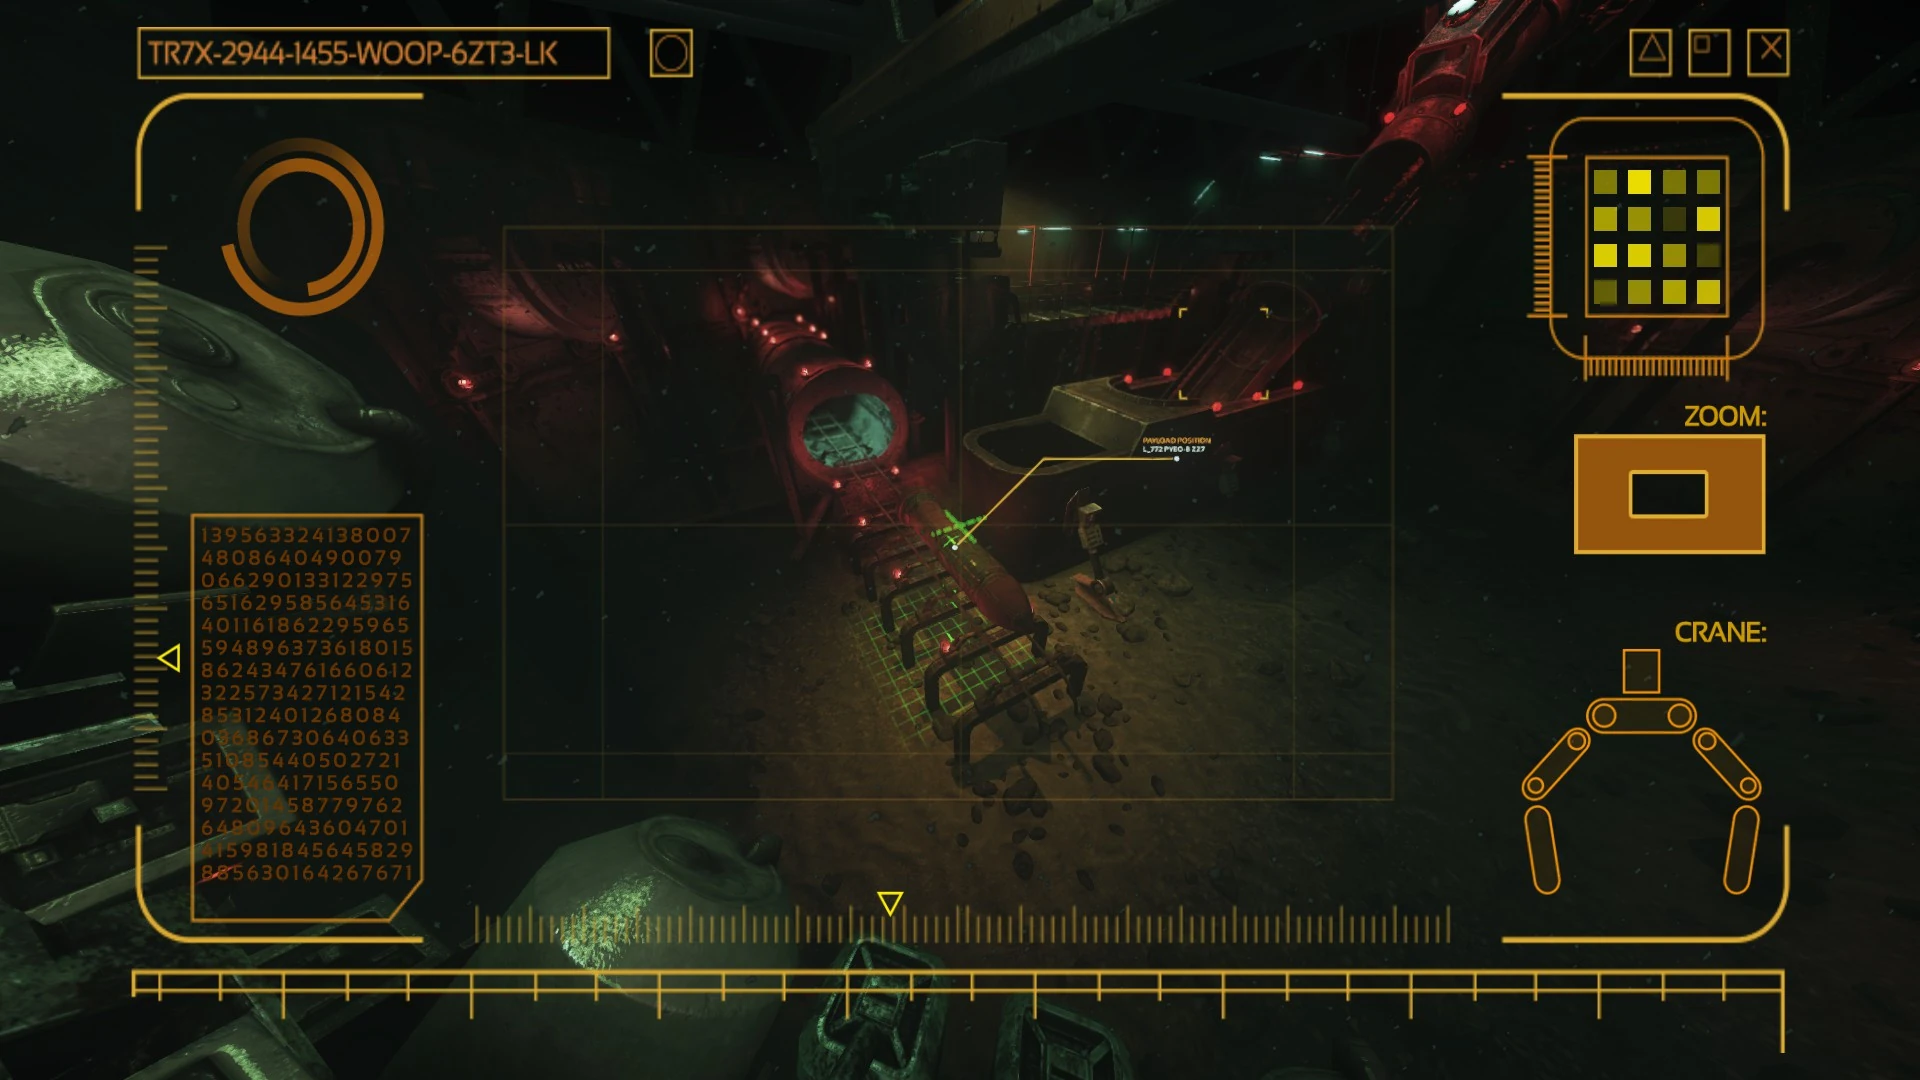
Aim here to pick up the payload


Aim here to load the payload into the space gun
- Approach the omnitool in the console. After the conversation, retrieve it.
- Turn to the right and go through the door labeled "LAUNCH DOME".
- Swipe the omnitool where indicated and wait for the airlock to cycle.
- When the airlock is open, proceed onto the catwalk and take the stairs ahead to the right.
- Turn right and place the omnitool in the receptacle.
- Turn around and sit down in the pilot seat.
- Look directly at the bullet and then hold down the mouse button until the crane grabs it.
- Look directly at the loading chamber. Orange indicators show where it is.
- Hold the mouse button down until it is loaded.
- Push the button to the left of the screen.
A new area[]


The end
- Once in the cave, stand up and follow the path outside.
- Continue along the path to the terminal just before the bridge.
- Optionally take the survey.
- Keep following the path to the beach to end the game.
| Game walkthrough |
|---|
|
Phi
|